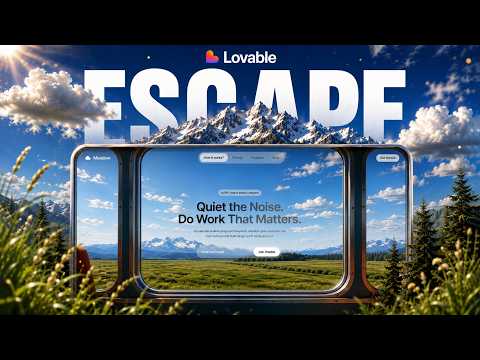
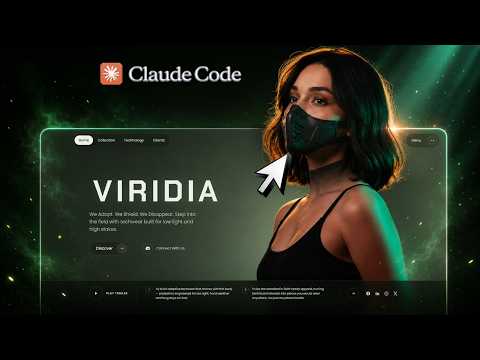
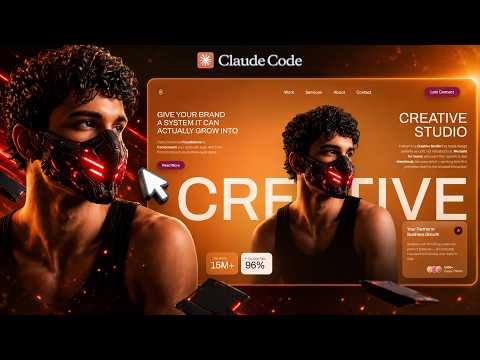
The usual objection to this kind of build is the bill: a frontier model subscription, an image generator, a video generator, hosting. This one costs nothing.
Google Antigravity is a free agentic coding tool with frontier models behind it, and Gemini handles both the character art and the image-to-video step. The result is a landing page with an interactive element most agencies would quote four figures for — a character whose head tracks the cursor — plus navbar, typography and testimonials.
The interesting part is not that it is free. It is that the cursor-tracking effect is the kind of thing that used to require either a canvas library or a very patient developer, and here it arrives as a consequence of describing what you want.
01Find the layout before you generate anything
Start on Pinterest and collect layout and typography references, not colour palettes. What you are looking for is the arrangement: where the character sits, how much room the headline gets, whether the navbar floats or sits flush.
This step costs two minutes and removes most of the back-and-forth later, because the model gets shown the composition instead of guessing it.
From the library
Get the prompt for this build
The designs used in this lesson live in the library. Open one to copy the prompt behind it.
02Generate the character with Gemini
Prompt Gemini for the character on a plain background. A plain background matters more than the character does — it is what makes the next two steps clean, and rescuing a subject from a busy background afterwards costs longer than regenerating it.
Iterate on the pose and the framing here rather than later. Once this image becomes a video, changing it means starting over.
- Ask for a plain or transparent background explicitly
- Get the pose right before the framing, and the framing before the styling
03Turn the still into a short animation
Feed the image back into Gemini's image-to-video step and ask for subtle motion — a slight head turn, a breath, a shift in weight. Subtle is doing real work here: a dramatic animation reads as a video embedded in a page, while a small one reads as a page that is alive.
Generated clips almost always run longer than you need and start or end on an awkward frame.
- Ask for a loopable motion, not a performance
- Keep the camera still — the character moves, the frame does not
04Trim the clip down
Any online trimmer will do. Cut to the section that loops cleanly, which is usually two or three seconds in the middle rather than anything at either end.
A hero video that visibly restarts is more distracting than no video at all, so this is worth the extra minute.
05Let Antigravity build the page around it
Open Antigravity, hand it the trimmed clip and the reference layout, and describe the page: hero with the character, navbar, headline treatment, testimonials section. Then ask specifically for the cursor interaction — the head should follow the pointer.
That last instruction is the one that turns a nice-looking page into one people send to their friends, and it is a single sentence.
- Give it the asset and the reference together, in the first message
- Name the interaction explicitly — it will not be inferred
- Build the static page first, then add the interaction if it stalls
06Polish what the reference could not tell it
What is left is spacing, type weight and the mobile layout — the things a single reference image never specifies. Work through them one instruction at a time.
Check the interaction on a touch device too. Cursor-tracking has no meaning without a cursor, so the mobile fallback needs to be a deliberate decision rather than an accident.
What you end up with
A complete interactive landing page — animated character, cursor tracking, navbar, testimonials — built with tools that cost nothing.
The broader lesson is about asset order. Image first, then video, then trim, then build. Every step feeds the next, and doing them out of order means redoing the ones before it.